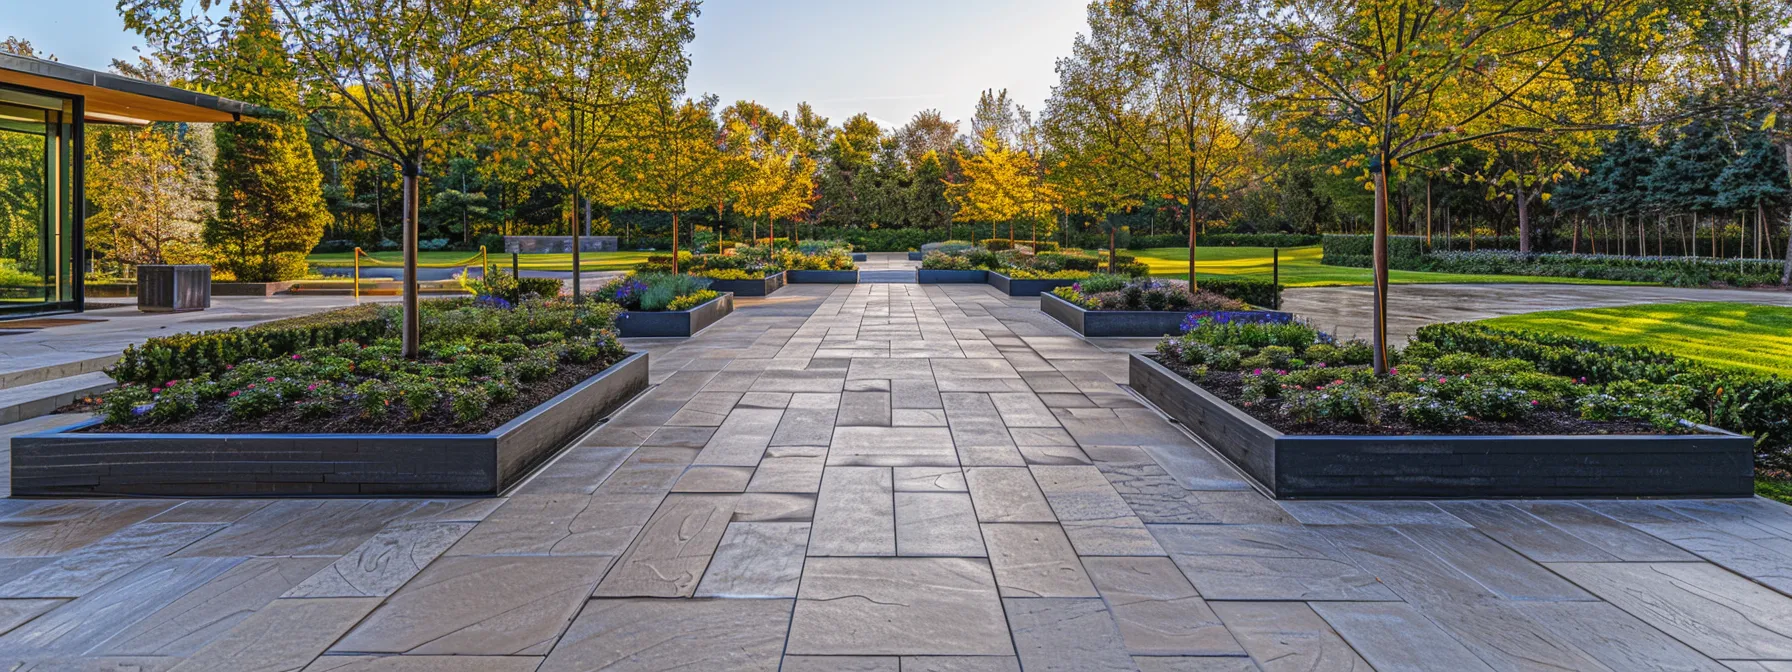
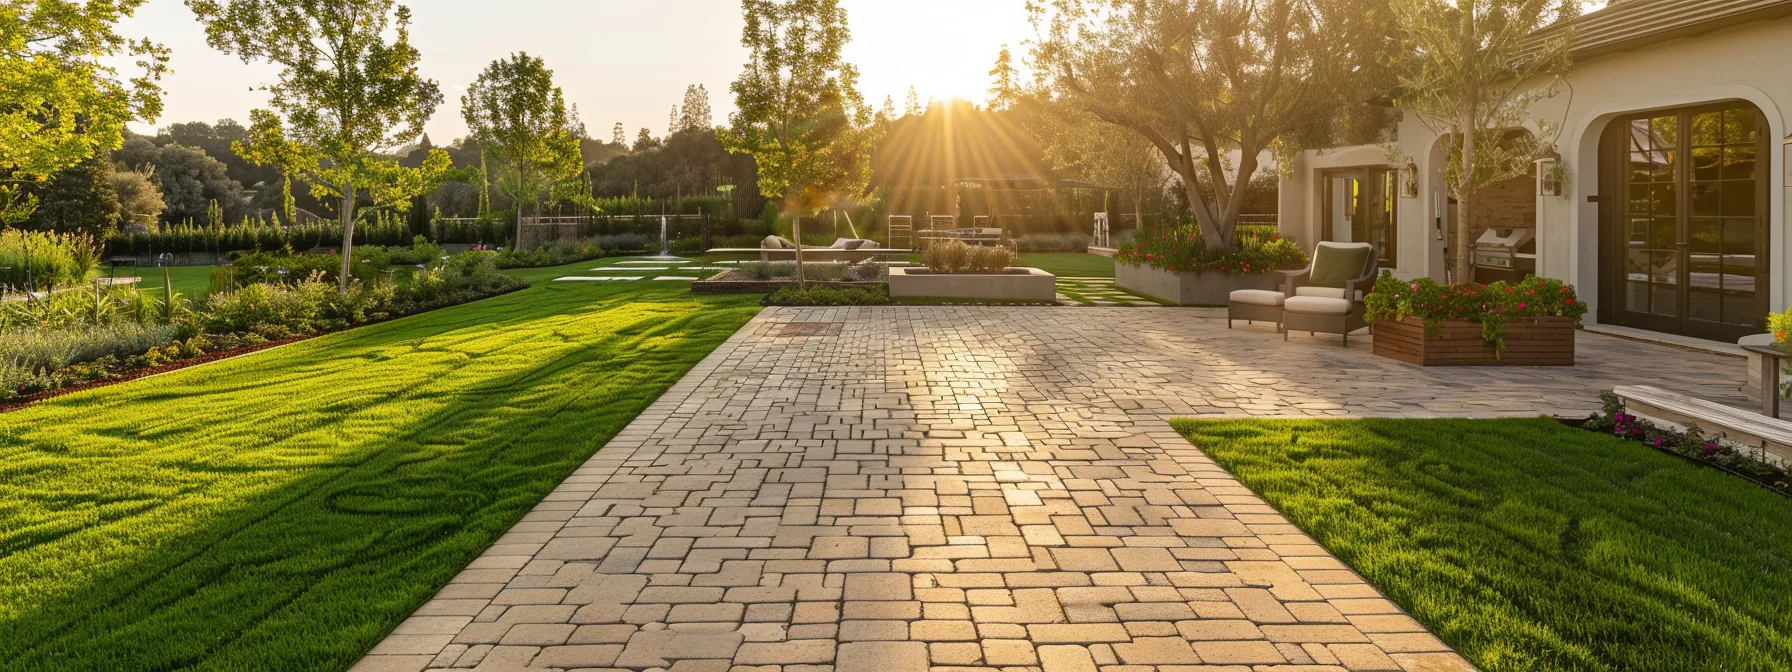
Wondering how long it takes to lay down 2000 square feet of pavers? Whether you’re adding a new driveway or upgrading your outdoor space, understanding the timeline is crucial for managing expectations and planning effectively.
This guide breaks down the essential steps of a paver installation project, discusses the benefits of professional help versus the DIY route, and offers tips to speed up the process. By the end, you’ll be equipped to tackle your paving project with confidence and ease, ensuring it’s completed efficiently and to a high standard.
Estimating How Long It Takes to Install 2000 Sq Ft of Pavers
Installing 2000 sq ft of pavers requires meticulous attention to detail and a structured approach to ensure precision and longevity. The average installation rate per square foot serves as a reliable indicator of project duration. Factors such as existing ground conditions, obstacles, and layout complexity can influence the timeline. Here’s what to expect:
Average Installation Rates Per Square Foot
Under optimal conditions, a skilled team can install approximately 100 square feet of pavers per hour. This positions a 2000 sq ft project at around 20 hours of solid work. However, external factors such as weather, material handling, and intricate designs may extend this timeline. Each project is assessed for unique challenges to provide accurate time estimates.
Key Factors That Affect Installation Time
Several factors can significantly impact the installation time, including:
| Factor | Impact on Installation Time |
| Sand Base Preparation | Uneven bases require extra leveling efforts |
| Yard Accessibility | Difficult access slows material transport |
| Landscape Grade | Slopes require additional grading |
| Delivery of Materials | Longer distances can delay project start |
Plan Your 2000 Sq Ft Paver Installation Efficiently

Efficient planning is key to completing large-scale projects like a 2000 sq ft paver installation. Proper site assessment, material selection, and scheduling can save time and reduce costs.
Assessing the Site and Preparing the Area
A thorough site assessment ensures proper preparation. Soil stability and drainage needs are evaluated to determine if sub-layers or retaining walls are required. Investing time in this early stage avoids future complications, ensuring the project’s longevity.
Selecting Materials and Scheduling Deliveries
Material selection and delivery coordination are crucial. Durable options like flagstone or high-density concrete not only enhance durability but also add aesthetic value. Scheduling deliveries to align with project phases prevents delays and ensures a smooth workflow.
Follow a Step-by-Step Timeline for Your Project
Breaking the project into manageable phases ensures efficiency and quality. The timeline typically includes excavation and base preparation, laying pavers, and completing finishing touches and cleanup.
Time Required for Excavation and Base Preparation
Excavation and base preparation are fundamental steps. Removing existing materials and leveling the ground can take up to two days, depending on the terrain. Proper compaction and the application of a sand base ensure stability.
| Process | Expected Timeframe |
| Site Excavation | 1-2 Days |
| Base Leveling and Compaction | 2-3 Days |
| Sand Base Application | 1 Day |
Duration of Laying Pavers
Laying pavers requires precision and careful alignment. A professional crew can complete this phase in approximately 10 days, depending on the design complexity and additional features.
Completing Finishing Touches and Cleanup
Finishing touches, such as sweeping joint sand and applying sealant, enhance durability and appearance. Cleanup ensures a polished look, with any necessary adjustments addressed promptly.
| Task | Timeframe |
| Sweeping and Joint Sand | 1 Day |
| Sealant Application | 1 Day |
| Final Inspection and Cleanup | 1 Day |
romptly, all while upholding the stringent safety and quality standards defined by our insurance policies.
Decide Between Professional Installation and DIY

Choosing between professional installation and a DIY approach depends on your budget, timeline, and skill level.
Time Savings With Professional Installers
Professionals bring expertise and efficiency to large projects. With the right tools and streamlined processes, they can significantly reduce installation time while ensuring high-quality results.
Assessing Your Own Time Commitment for DIY
A DIY project requires substantial time and effort, especially for large areas. Consider whether you can dedicate several weekends to tasks such as leveling, material handling, and precise placement of pavers.
Accelerate Your Paver Installation Time
Effective planning and the right tools can expedite the installation process. Techniques like pre-planning material deliveries and using advanced machinery enhance efficiency.
Effective Planning and Organization Strategies
Coordinating material deliveries, confirming design details, and ensuring all tools are on hand prevents delays and confusion. Strategic planning ensures a smooth and efficient workflow.
Utilizing Proper Tools and Techniques
Advanced tools like plate compactors and grading machinery streamline the installation process. These tools ensure stability, precision, and a polished final result.
Common Questions About Installation Duration
How Do Weather Conditions Impact Installation Time?
Weather can significantly affect the timeline. Rain delays base compaction, while extreme heat accelerates drying times, requiring faster work. Understanding these impacts allows for contingency planning.
| Weather Element | Impact on Installation |
| Heavy Rain | Delays in base compaction and drying |
| Extreme Heat | Accelerates drying, requiring faster work |
| Cold Temperatures | Slows adhesive setting and compaction |
| High Winds | Challenges material handling |
Is It Possible to Reduce Time Without Sacrificing Quality?
Yes, strategic pre-planning and efficient tools can reduce time while maintaining quality. Ensuring all materials are on-site and using advanced techniques help expedite the process without compromising results.
| Pre-Planning Aspect | Time Reduction Benefit |
| On-site Material Availability | Minimizes delays in installation process |
| Advance Coordination for Features | Ensures efficient execution |
| Streamlined Workflow | Accelerates overall project completion |
Conclusion
Installing 2000 sq ft of pavers requires careful planning and consideration of factors like site conditions and material delivery. Professional installation ensures efficiency, precision, and durability, while DIY projects demand significant time and effort. By leveraging strategic planning, advanced tools, and expert knowledge, you can streamline the process and achieve a stunning, long-lasting result. Trust Old Town Pavers LLC to guide you through every step, ensuring your paving project exceeds expectations.amics for a successful project.
